


Description
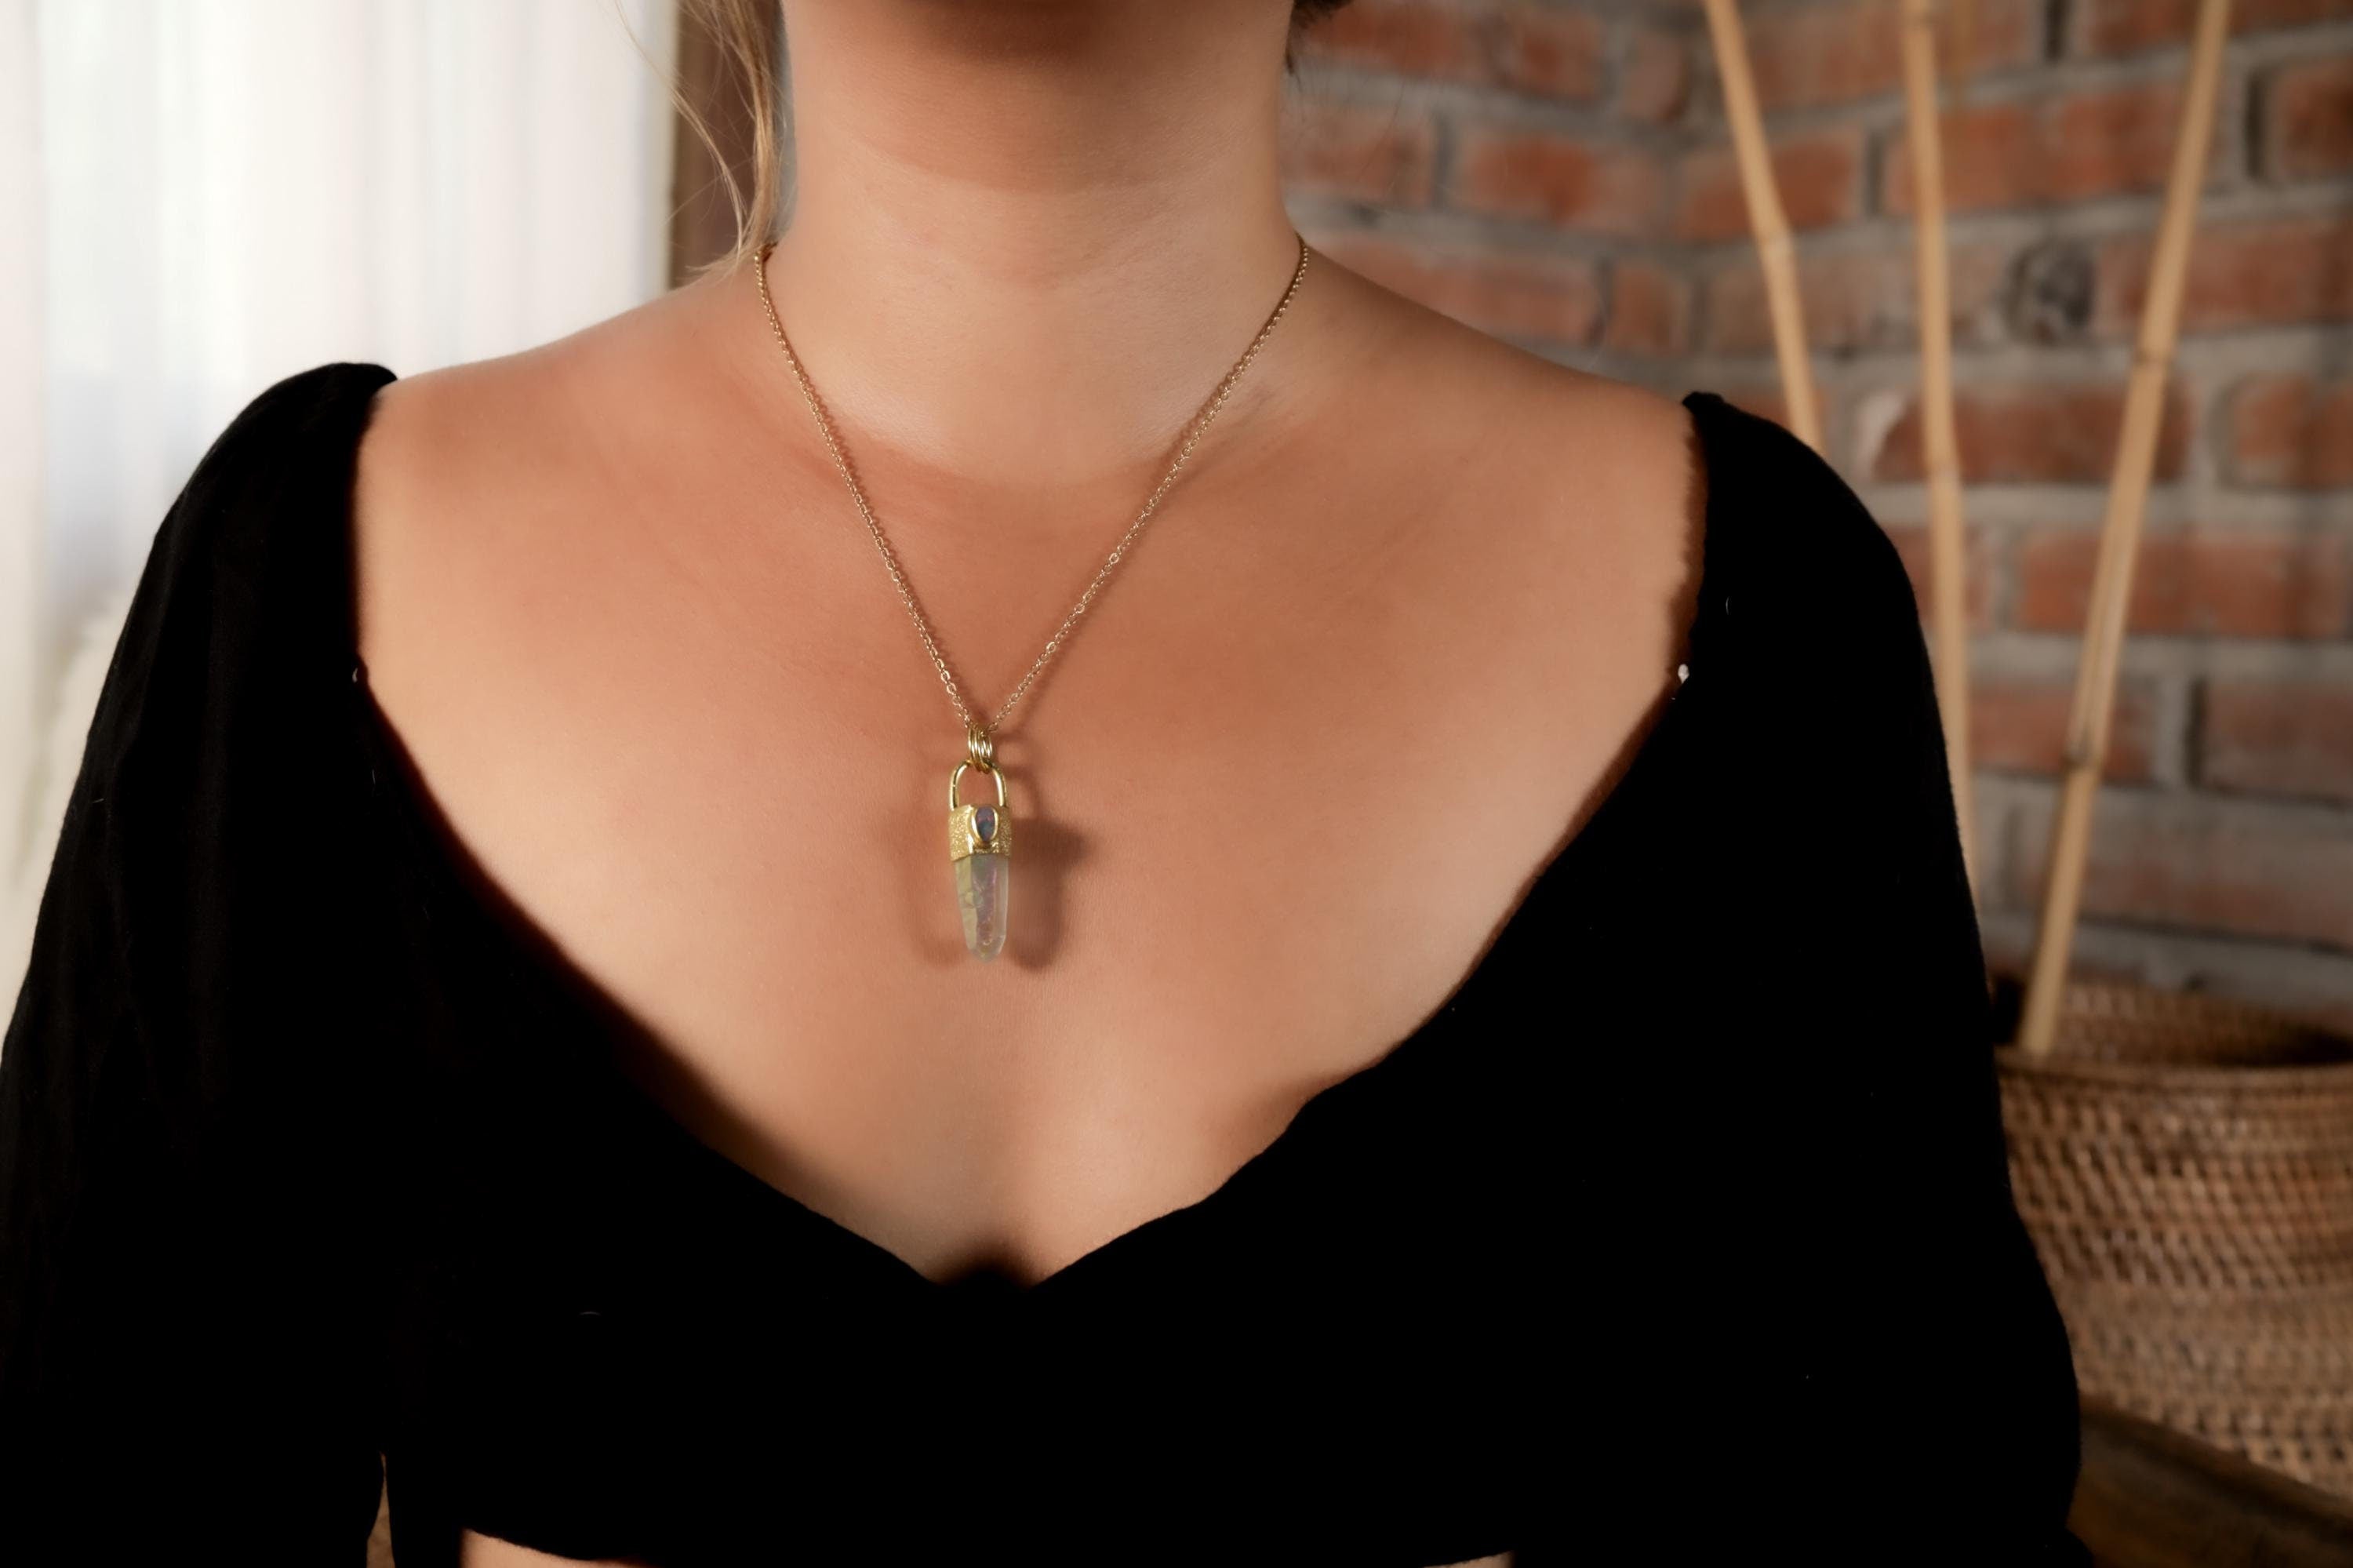
xThis is an 18k gold-plated 925 sterling silver pendant featuring Opal Angel Aura Quartz with a luminous Opal Doublet set into the front cap, designed as a cosmic crystal talisman for clarity, colour, Crown Chakra energy, meditation, and celestial light.
Jewelry Details & Stone Story
Jewelry Type:
Opal Angel Aura Quartz pendant, Opal Doublet necklace, cosmic crystal talisman, and gold-plated statement charm
Main Stones:
Opal Angel Aura Quartz paired with a luminous Opal Doublet set into the front cap
Materials:
Solid 925 sterling silver, 18k gold plating, Opal Angel Aura Quartz, Opal Doublet, and black woven cotton cord
Metal:
Solid 925 sterling silver with 18k gold plating, 3 microns thick
Finish:
Sand-textured 18k gold-plated sterling silver for warmth, depth, and handmade character
Setting:
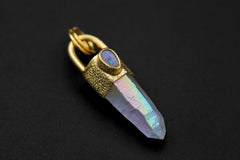
Opal Angel Aura Quartz capped in gold-plated sterling silver, with an Opal Doublet set into the front cap as a concentrated flash of colour
Bail / Cord:
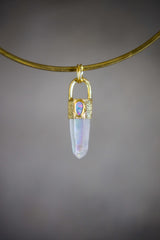
3 mm U-shaped coil bail with two additional 7 mm circular bails for versatile styling, hanging, and larger chain options. Comes with a black woven cotton cord. Custom silver chains can be made on request, please contact us for a quote
Size / Presence:
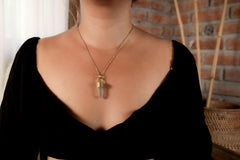
Approximately 4.5 to 5 cm total length including bail, with a luminous crystal point shape and strong opaline statement presence
Stone Character:
Opal Angel Aura Quartz begins as natural Quartz and receives a bonded aura finish, creating a luminous surface that can flash blue, violet, gold, pink, and opaline tones. The Opal Doublet adds a brighter focal point of colour play in the gold-plated cap
Symbolism:
Opal Angel Aura Quartz is traditionally associated with clarity, higher awareness, spiritual insight, aura cleansing, emotional uplift, and Crown Chakra energy. Opal is often linked with creativity, imagination, emotional expression, inspiration, and spiritual openness
Zodiac Links:
Quartz is often treated as a universal crystal, while Opal is commonly linked with Cancer, Libra, Scorpio, and Pisces energy
Style:
Gold-plated Aura Quartz pendant, Opal Doublet necklace, cosmic crystal talisman, opaline statement charm, celestial meditation pendant, luminous spiritual jewelry
Best For:
Wearing as a Crown Chakra talisman, Opal necklace, Angel Aura Quartz pendant, meditation charm, cosmic statement pendant, spiritual clarity piece, or meaningful handmade gift for someone drawn to aura crystals, opal fire, and gold-plated silver
Design and Wear:
Opal Angel Aura Quartz and Opal Doublet Pendant is a rare gold-plated sterling silver piece shaped around cosmic light, crystal clarity, and opal fire. The main stone is an Opal Angel Aura Quartz, carrying an iridescent spectral glow over clear Quartz. Its surface reflects soft flashes of blue, gold, violet, and opaline light, giving the piece an ethereal, otherworldly presence.
Set into the front cap is a radiant Opal Doublet, adding a concentrated burst of colour play. The Opal Doublet glows like a small galaxy within the gold-plated setting, echoing the aura shimmer of the Quartz below.
The sand-textured sterling silver gives the pendant a tactile, earthy surface beneath the 18k gold plating. The bail system includes a 3 mm U-shaped coil for larger chains and two additional 7 mm circular bails, giving the piece flexible styling options for chains, chokers, or cords.
This pendant can be worn as a Crown Chakra talisman, Opal necklace, Angel Aura Quartz pendant, Lemurian crystal charm, meditation piece, cosmic statement pendant, or meaningful gift for someone drawn to rare stones, aura crystals, and handmade gold-plated silver.
Stone Insights:
Opal Angel Aura Quartz:
Opal Angel Aura Quartz begins as natural Quartz, then receives a bonded aura finish that creates its luminous opaline surface. The Quartz itself brings clarity, structure, and amplification, while the aura treatment adds a glowing spectral layer that shifts beautifully with light.
Spiritually, Opal Angel Aura Quartz is connected with clarity, higher awareness, spiritual insight, aura cleansing, and emotional uplift. It resonates strongly with the Crown Chakra, supporting meditation, inner light, and a clearer connection to intuition. If the crystal carries Lemurian-style markings, record keepers, rainbows, or twin formations, these natural features add symbolic layers of memory, reflection, and energetic flow.
Opal Doublet:
Opal Doublet is made with a precious Opal layer supported by a backing, allowing its colour play to be shown with more strength and stability for jewelry wear. In this pendant, the Opal Doublet sits on the cap as a concentrated point of shifting fire and celestial colour.
Spiritually, Opal is connected with creativity, emotional expression, inspiration, imagination, and spiritual openness. It resonates with the Crown Chakra and can also support emotional flow through its colour and movement. In this pendant, the Opal Doublet amplifies the cosmic feeling of the Aura Quartz and adds a bright focal point of colour.
Combined Energy:
Together, Opal Angel Aura Quartz and Opal Doublet create a pendant of spiritual clarity, emotional colour, and cosmic radiance. The Aura Quartz brings a luminous field of calm and higher awareness, while the Opal Doublet adds creative fire, play of colour, and expressive beauty. The gold-plated sand-textured setting adds warmth, strength, and a refined talismanic finish.
Product FAQ
What makes this Opal Angel Aura Quartz pendant feel so cosmic?
The Aura Quartz has a bonded opaline surface that shifts through soft blue, violet, gold, pink, and rainbow-like tones, while the Opal Doublet adds a concentrated flash of colour in the cap. Together they give the pendant a bright celestial, almost galaxy-like presence.
What is Opal Angel Aura Quartz?
Opal Angel Aura Quartz begins as natural Quartz and is finished with a bonded aura treatment that creates its luminous spectral surface. The Quartz brings clarity and structure, while the aura finish adds the floating colour and opaline glow.
Why add an Opal Doublet to an Aura Quartz pendant?
The Opal Doublet echoes the shimmer of the Angel Aura Quartz but in a more focused way. It acts like a small colour portal at the top of the pendant, strengthening the cosmic feeling without overpowering the crystal point below.
Is this pendant subtle or more of a statement piece?
This is a statement crystal pendant, approximately 4.5 to 5 cm total length including the bail. The long opaline Quartz point, gold-plated cap, triple bail system, and Opal Doublet all give it strong presence.
What does the triple bail design add to the pendant?
The 3 mm U-shaped coil bail and two additional 7 mm circular bails give the pendant more styling options. It can be worn on cords, chokers, larger chains, or styled as a hanging crystal object.
Who would connect most with this Opal Angel Aura Quartz pendant?
This piece suits someone drawn to aura crystals, Opal colour play, Crown Chakra symbolism, meditation jewelry, cosmic talismans, luminous statement pieces, or handmade crystal pendants that feel rare, bright, and otherworldly.
How should I care for Angel Aura Quartz, Opal Doublet, and gold-plated silver?
Treat this pendant gently and avoid water, perfume, oils, chemicals, heat, ultrasonic cleaners, abrasive polishing cloths, rough storage, and hard impact. Aura Quartz should be protected from abrasion, and Opal Doublets should be kept away from prolonged moisture.
Origin and Authenticity:
Made with certified 925 sterling silver, 18k gold plating, Opal Angel Aura Quartz, and Opal Doublet selected for colour, glow, clarity, and visual presence. Aura Quartz is natural Quartz with a bonded finish. Stones may show small variations, inclusions, surface details, aura shifts, colour play, or natural differences that make this pendant unique.
Sizing and Fit Notes:
This pendant features a 3 mm U-shaped coil for larger chains and two additional 7 mm circular bails for versatile styling. Comes with a durable 1.5 mm black cotton necklace and can also be paired with a snake chain, gold-toned chain, silver choker, brass choker, leather cord, or custom necklace option depending on the desired look.
Care and Maintenance:
Gold-plated jewelry should be treated with care to preserve the gold layer. Wipe gently with a soft dry cloth after wear. Store separately in a dry pouch or lined box to prevent scratches. Avoid water, perfume, oils, lotions, chlorine, household cleaners, swimming, bathing, and intense physical activity while wearing the piece.
Do not use polishing cloths, chemical dips, ultrasonic cleaners, or abrasive materials on gold-plated surfaces, as they can wear down the plating. Aura Quartz should be protected from abrasive contact to preserve its bonded surface. Opal Doublets should be kept away from prolonged water exposure, heat, rough impact, and harsh chemicals.
Packaging and Gifting:
Gift-ready packaging is included. Each order is packed securely with care. A small gift and discount code may be included with your order.
Customer Support:
If you would like more detailed photos, videos, styling guidance, or extra information before purchasing, please send a direct message. Extra images and answers can be provided.
Custom Orders:
Custom pieces generally start at AUD $250. Similar aura crystal pendants can be recreated with different stones or finishes at the same base price, except when a rarer or more valuable stone is chosen or the design is changed.
Available finish options include oxidized silver, high-shine silver, or 18k gold plating on request. Final pricing depends on finish, stone choice, and design changes.
Store Policy:
Please note that any items purchased during a sale are not eligible for refunds. If returned intact, sale items will be issued as store credit only.
Uncollected or Failed Deliveries:
All orders are shipped with tracked express service. Once dispatched, buyers are responsible for monitoring tracking and responding to carrier notifications, including customs duties, taxes, or identity verification.
If a parcel is marked “delivery attempted,” “held,” “unclaimed,” returned to sender, or destroyed due to non-collection, I cannot take responsibility. In line with Etsy policy, buyers are responsible for providing accurate addresses and completing required delivery steps.
Image Note:
Some styled images in this listing may use enhanced or AI-assisted backgrounds for presentation. All images honestly reflect the real handmade item you will receive.
- Choosing a selection results in a full page refresh.